
Hello!
I recently decided that I was going to start re-enacting scenes from my favourite shows, films, books and whatever else that interests me. I thought that I could also adapt scenes from my own writings, such as Space Precinct Zero and The Sceptic Truth. The main character in the latter is modelled after me to begin with!
With writing the novelisation for Space Precinct Zero and working on the artwork for issue #3 of the comic series with artist Jayson Santos, obviously one particular series has been on my mind. I was working on a scene for the novelisation that didn’t appear in the first issue of the comic, and thought it would be fun -if not a little emotional- to put it to the screen.
However, in order to do that, I can’t just hit record and have at it. I also have to look the part!
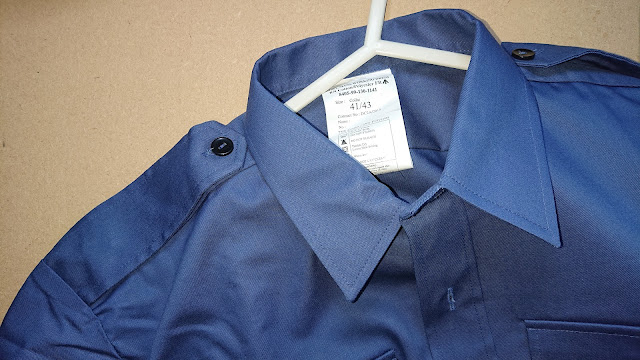
To assemble the Space Corps uniform, as worn by most of the characters in SPZ, I’ll need a uniform, which is the easy part. It’s a pretty basic uniform that doesn’t really stray from what you’d probably be imagining right now (assuming you haven’t read the comic books…). With the comic being in black and white, the colour of the uniform hadn’t really been finalised. Jayson Santos the artist didn’t need to know, and if I don’t need to make a decision right now this second, I’m very likely to leave it for Future Chris. (Sorry, Future Chris.) It’s OK, he’s very capable.
After some thought, Future Chris became Present Chris and the decision was finally made. He– no, I’m getting confused now. I decided on blue. I liked the RAF/Navy look and there we have it. I was only going to buy the shirt and work on that, but postage was almost as much as the shirt! So I thought, why not buy everything I’ll need and picked up some trousers as well for the same postage cost. (I hate paying postage, anyone else?)
Now to the customisation! In the comic, each officer has shoulder pips signifying their rank, and patches for the Space Corps. For this costume, I also thought it would be pretty cool to add a name patch to the chest, which I ordered from Etsy.
I will cover the pips at a later time, when I actually get around to sourcing the materials and putting them together, though I think I may go the same route of the Space Corps patch and make them myself!
The United Continents Space Corps patch has a sky blue background, with two stars. Each star representing one of the two surviving continents on Earth. Below, you can see the supplies I’ve collected to make the thing. I had a look in my local haberdashery. I love that word. I wanted to see the material myself rather than buying online. I went with the lovely blue felt in the image. I thought it would look really cool once it was embroidered. I didn’t want anything too thin, either. So felt seemed like the best choice from what they had on offer instore.
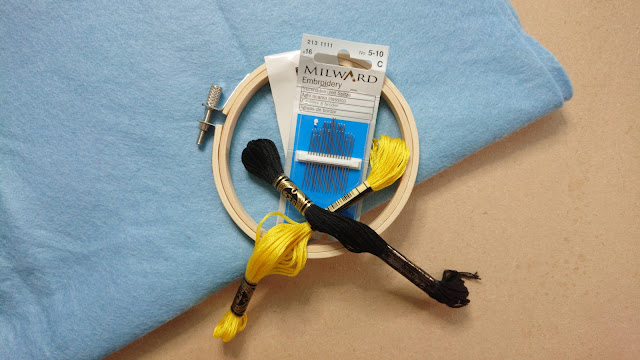
Everything else, I found at the Hobbycraft in Livingston. For the embroidery, I picked up a 4″ embroidery hoop. I came across a lot of 3″ patches and thought that would be a fine size for this, too. I picked a bright yellowy gold and a black for the border, both of the patch itself and an outline to the stars to help them pop. And needles to actually put it all together. Won’t get far without needles. I have no idea what size needle I’ll need so I just went for the ones that looked the sharpest…
And that’s where I’m at so far! Bought loads of stuff and done none of the work! Story of my life… I’ll hopefully be back soon with my progress! If you’ve done anything like this before, please let me know how you did it in the comments!
Thanks for reading,
Chris

Leave a comment